


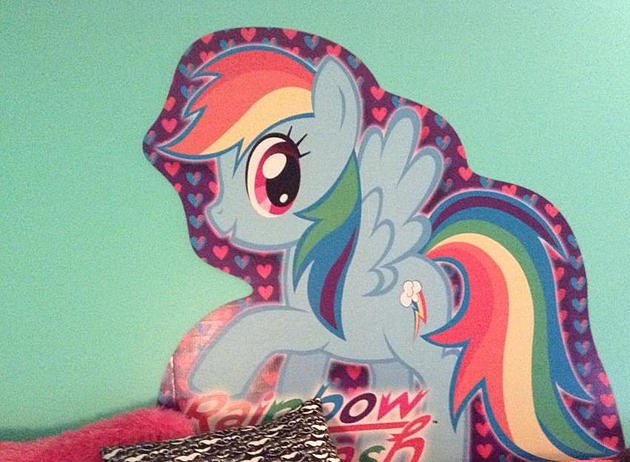
After a year of crocheting, last spring I fell in love with a type of crochet called amigurumi, which is crocheted stuffed animals. They are so much fun to make. As I am crocheting these animals, they come to life. I know that what I’m making is something special for someone to love and cuddle. So when I started thinking of something to crochet my little sister for her 13th birthday, I knew I wanted to make her an amigurumi. But what? She has always loved collecting little figurines and one of her favorites to collect are the My Little Ponies. She even has her favorite pony, Rainbow Dash, as a mural on her wall.
Scroll down for my picture tutorial on how I made the mane and tail.
Scroll down for my picture tutorial on how I made the mane and tail.
I found a really wonderful free pattern at:


I used Cascade 128 Superwash for Rainbow Dash, and I got the yarn from my local yarn shop, Chix With Stix. I love their little shop, they are so friendly and they wind the yarn for free!


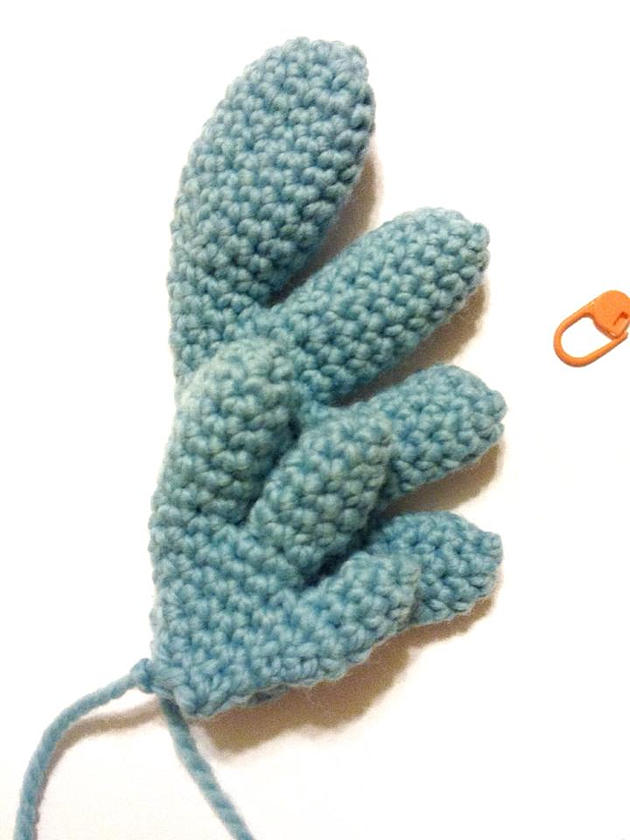
How to make the twisted cords and attach them, for the mane and tail:


I used 2 strands of yarn that were about 70 inches long to make the twisted cords. The yarn I used was Sugar n Cream and Peaches n Creme. They are both organic cotton. You can use as many strands as you need to make the cords as thick as you want.


Let's get started!
Step 1: Cut a strand(s) of yarn and fold it in half.

Step 2: Using a crochet hook, pick up a stitch where you would like a strand of hair to go.

Step 3: Where the fold is in the yarn, loop the yarn over the hook.

Step 4: Pull the loop through the stitch until you have about a 1 inch loop on the hook.


Step 5: Yarn over the hook with the dangling yarn from back to front and pull through the loop on the hook.


Step 6: Slide the hook back through the top of the loop and pull on the dangling yarn tightening the loop on the hook. Leave the hook.

Step 7: Take the dangling yarn and twist it until it is very tight and you can barely twist it anymore.

Step 8: Fold the twisted yarn in half and let go.


Step 9: Take the ends of the twisted yarn and yarn over the hook and pull through the loop on the hook.

Step 10: Pull on the twisted cord to tighten the loop around it.

Step 11: Take the dangling yarn ends and use a darning needle to sew through the body or head of the pony to hide the tail.


Step 12: Cut the yarn.

Step 13: Squeeze the pony so that the yarn is hidden.


That's it!!!

I hope you liked this picture tutorial and how I made Rainbow Dash.
Soft hugs <3

