


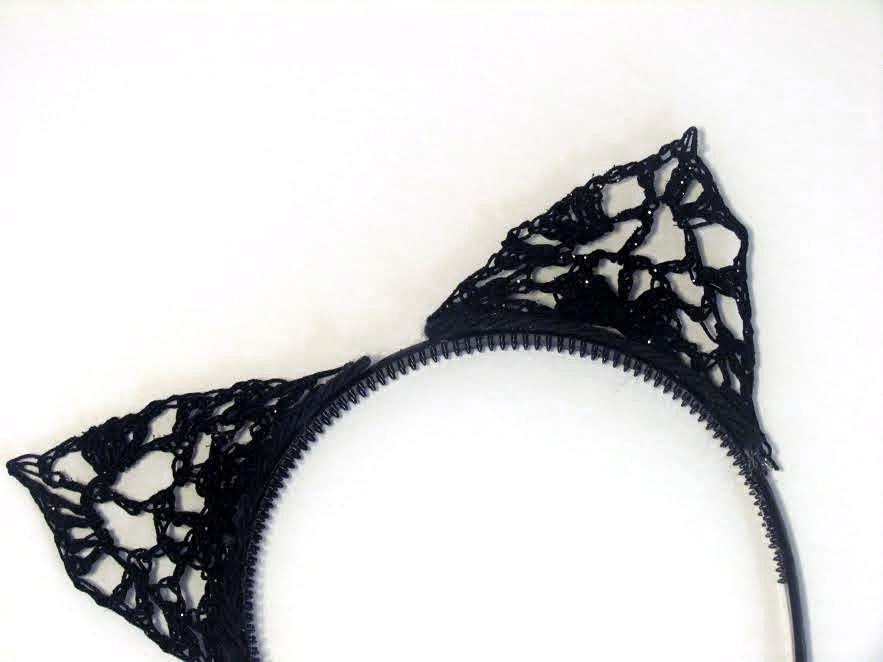
Halloween is coming up and to get us in the mood and a little inspired, I have created a cat ear headband! I think it's super cute and I love how it looks like lace! I love it so much that I'm sharing it in a free pattern with a video tutorial on how to crochet the cat ears and a video tutorial on how to harden the ears and attach them to a headband for a purrfect and easy Halloween accessory! I hope ya'll love it as much as I do!
For the blog with the written pattern for the cat ears, click here. And for the video on how to crochet the cat ears, click here or scroll down.
For the video on how to harden and attach the cat ears to the headband, click here or scroll down. And for the written instructions, scroll down.
Now that you have crocheted your own cat ears, let's get started assembling the headband!

DIY Cat Ear Headband
A Halloween Accessory
Materials
2 crocheted cat ears
1 headband
Elmer's glue/White school glue
Pins
Parchment paper
Box
Chalk
Hot glue
Hot glue gun
Black glitter- optional
Extra black yarn- optional
Instructions
1. Soak the cat ears in a water and glue mixture. You can make it as strong as you want but I use about 1 tablespoon of water and 1 tablespoon of glue. Squeeze out the excess.
2. Pin the ears to a box that is covered with parchment paper. Roughly shape the ears and then use the headband to get the right shape so that the ears can be glued on easily.
3. Optional- sprinkle with black glitter.
4. After 24 hours, carefully pull out the pins while holding down the cat ears so that they do not bend while the pins are being pulled out.
5. Mark the headband with chalk where you want the ears to go.
6. Glue the ears to the headband with hot glue. Let them dry for a couple of minutes.
*Your cat ears can be done at this point but I like to line the bottoms of the ears with yarn to hide the glue.*
7.. Cut 4 pieces of black yarn, the same length as the bottom of the cat ears.
8. Hot glue the black yarn to the bottom of the cat ears.
9. Let them dry and they are ready to wear!
10. Meow!
I hope ya'll liked this free pattern with video tutorials! If ya'll make your own cat ears, I would love to see! Post a pic and use the #catearswithalex on instagram for me to see! If ya'll have any ideas for future videos, I would love to hear them, comment below! And if you haven't subscribed to my channel, don't forget to do that now so that you won't miss any future videos! I have so many ideas, I can't wait to share them with ya'll! Want to keep up with my crochet patterns? Follow me on ravelry.
Thanks a bunch!
Soft hugs and
